
Last updated November 15, 2026
 Wrought iron
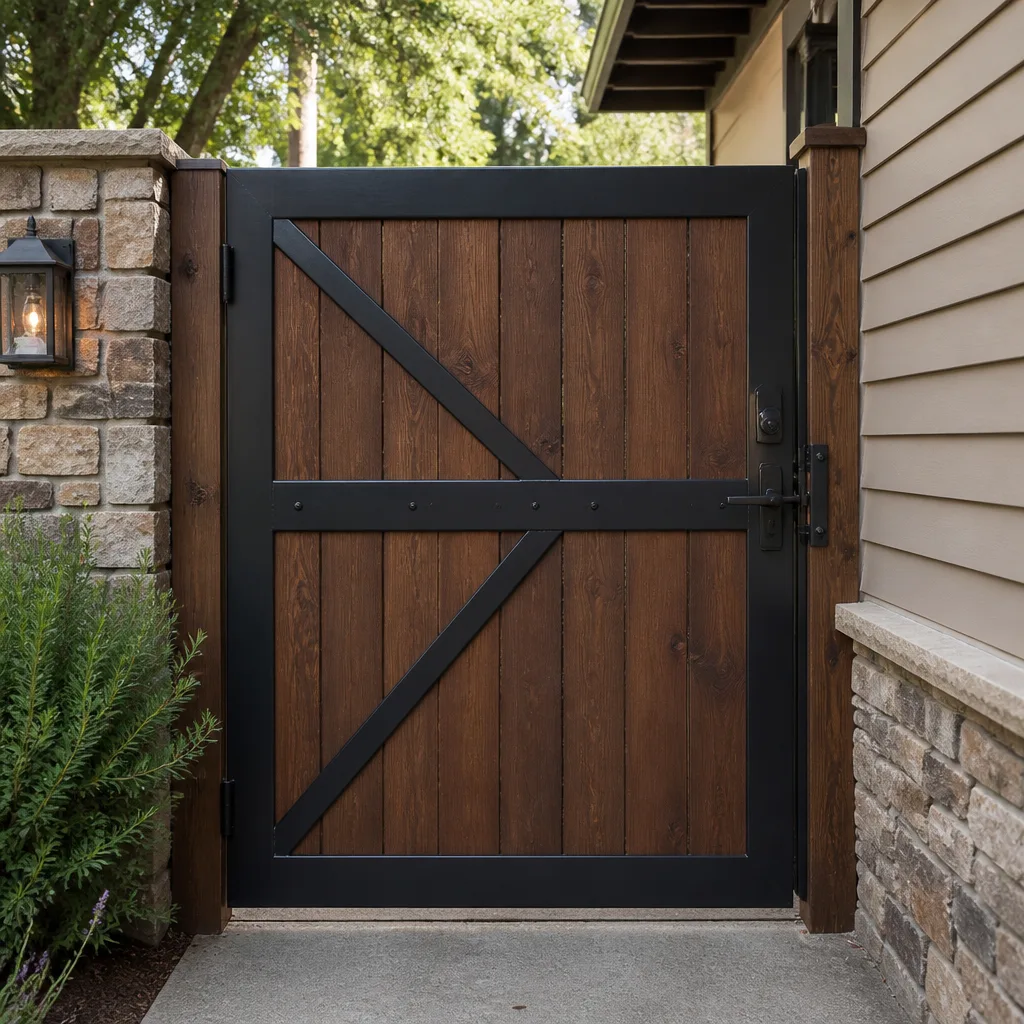 Wood & steel frame
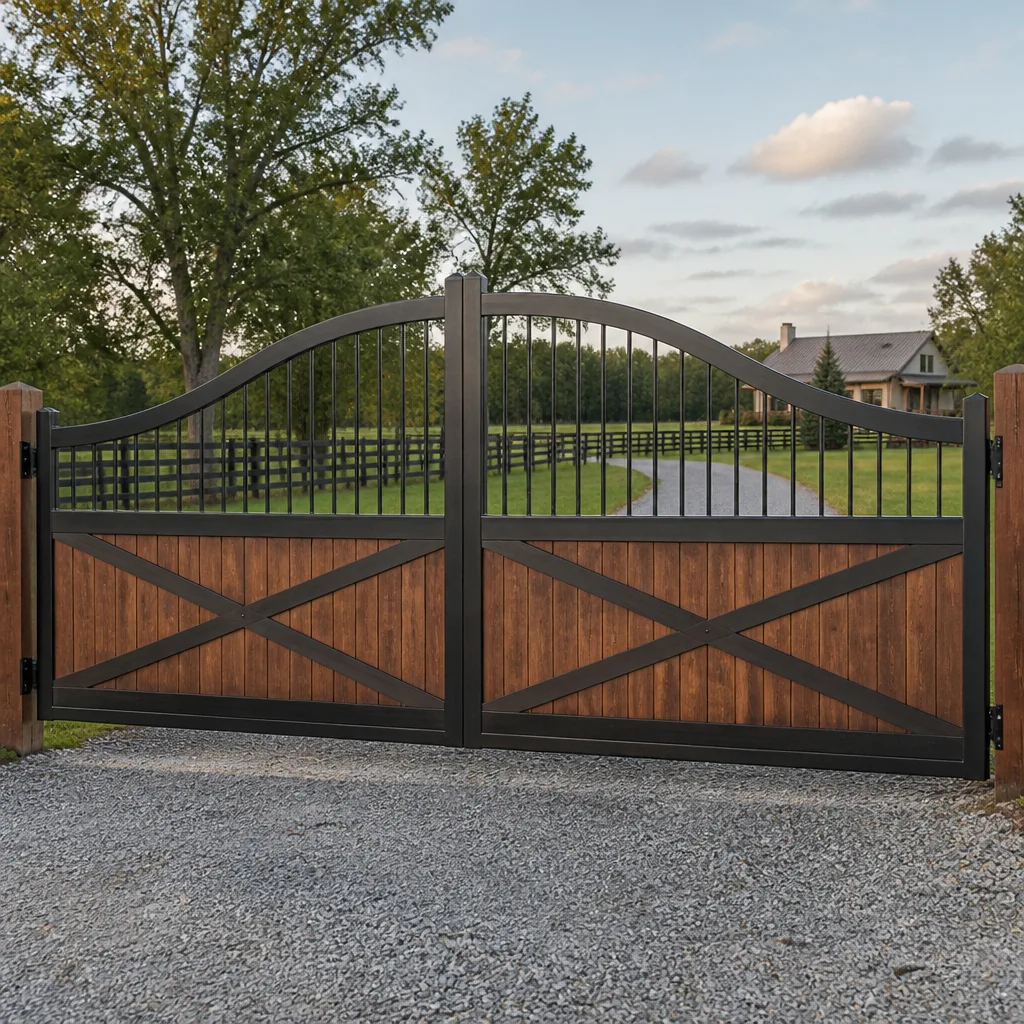 Farm & ranch
 Sliding driveway gates
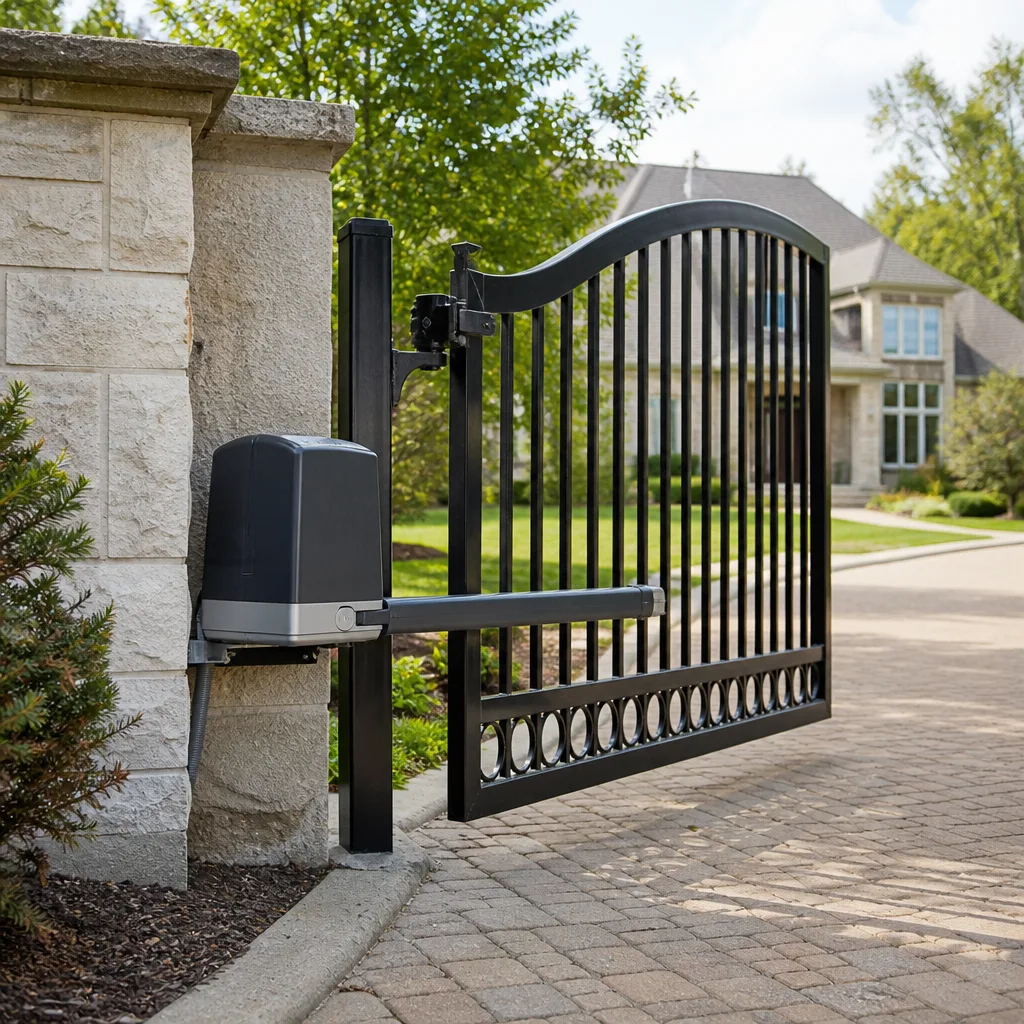 LiftMaster operators
Free on-site gate assessment - hinges, posts, and your LiftMaster or Nice gate operator checked before anything is quoted
The assessment is free and the quote is the invoice.
Get your free estimateGate Repair Maintenance Checklist for Suffolk Homeowners
Most gate maintenance checklists tell you to “lubricate moving parts” and leave it at that. Here’s the problem: the wrong lubricant in Suffolk’s humid summers does more harm than none at all. It traps grit, turns tacky, and in some cases works against the tolerances an operator was built around. We’ve seen gates wear faster because of well-intentioned maintenance, not neglect. This guide walks through a component-by-component checklist built for Suffolk conditions: heavy rain, standing water, summer heat, and soil that holds moisture longer than most homeowners expect. You’ll learn what to check, what to skip, and what genuinely needs a technician.
Quick Answer
A gate maintenance checklist for Suffolk homeowners should cover six areas: hinges and pivot points, the operator (motor and gearbox), the control board and wiring, safety sensors and reversal, the structural frame and posts, and drainage around the footing. Walk the gate monthly, test the safety reversal every six months, and book a technician once a year for anything involving live electrical components or the operator’s internal parts. Most mechanical problems announce themselves early if you know what to look for.
Styles & brands we work with
- Wrought iron
- Wood & steel frame
- Farm & ranch
- Sliding driveway gates
- LiftMaster operators
Table of Contents
- Why Suffolk Gates Age Differently
- The Monthly Walk-Around: A 15-Minute Inspection
- Lubricant Selection for Suffolk Humidity
- Reading Early Corrosion Before It Becomes Structural
- Testing Safety Reversal and Obstruction Sensors
- Operator and Control Board Checks
- DIY vs. Technician: Where the Line Sits
- Seasonal Calendar for Suffolk Gate Care
Why Suffolk Gates Age Differently
Suffolk sits in a climate band that punishes outdoor metal. Summers run hot and humid enough that condensation forms on cool metal surfaces overnight, then evaporates by mid-morning. That daily wet-dry cycle is more damaging to welds and fasteners than constant exposure, because the moisture works into seams and then dries with salt and minerals left behind. Add the heavy rain events that drop inches in a few hours, and you get water pooling around footings that were never designed to sit in standing water.
We work on gates across Suffolk and see the same patterns repeat. Properties near low-lying areas, older neighborhoods with mature tree canopy, and lots with clay-heavy soil all tend to show footing movement and post lean earlier than dry, sandy lots. Gates installed on a slope face a different stress: the operator works harder on the incline, and the gate’s own weight pulls against hinges every time it opens.
None of this means a Suffolk gate is doomed. It means the maintenance schedule that works in a dry climate isn’t the right schedule here. Treat the checklist below as a Suffolk-specific version, not a template lifted from a national manufacturer’s manual.
What Suffolk Conditions Stress Most
- Fasteners and welds: the wet-dry cycle works moisture into seams and leaves mineral deposits behind.
- Operator internals: summer heat breaks down lubricants faster, and temperature swings inside a control box cause condensation on circuit boards.
- Footings and posts: heavy rain saturates soil, and clay-heavy ground holds that water for days.
- Hinges and pivot points: grit sticks to tacky lubricant, then grinds against the pin.
The Monthly Walk-Around: A 15-Minute Inspection
Fifteen minutes once a month catches most problems while they’re still cheap to fix. This is a visual and hands-on inspection, not a repair session. Work through it in the same order every time so nothing gets skipped.
- Open and close the gate manually (with the operator disengaged, if your gate has a manual release). It should swing or slide smoothly with light hand pressure. Binding, grinding, or a gate that suddenly needs a shoulder to move signals a hinge, track, or alignment issue.
- Look at every hinge and pivot point. Check for rust streaks, loose bolts, and play in the pin. A hinge with visible wobble will eventually oval out the mounting hole.
- Walk the gate’s full travel path. Look for debris, gravel build-up, or vegetation that could catch a wheel or block the sensor beam.
- Check the posts for plumb. Stand back and sight down the post line. A post that’s leaning a degree or two more than last month points to footing movement.
- Inspect the operator housing. Look for cracks, standing water inside the enclosure, insect nests, and loose conduit fittings.
- Press the safety edge or wave a hand through the photo-eye beam while the gate is closing. The gate should reverse immediately. If it doesn’t, stop using the automatic function until it’s fixed.
- Look at the ground around the footing. Standing water, a developing divot, or soil washed away from the post base all need attention before the next heavy rain.
Write down anything you notice, even small things. Patterns matter more than single observations. A hinge that gets slightly loose every month is telling you something a one-time check would miss.
Lubricant Selection for Suffolk Humidity
This is the section most checklists get wrong. A general-purpose spray lubricant works fine in a dry climate. In Suffolk’s humidity, the wrong product becomes a grit magnet within weeks. The gate feels smooth for a month, then starts binding because the lubricant film has trapped dust and pollen and turned into an abrasive paste.
What Holds Up in Suffolk Humidity
- White lithium grease: stays put on hinge pins and pivot points, resists washout from rain, and doesn’t turn tacky in heat. Apply a thin film, not a heavy coating.
- Silicone-based dry lubricant: good for slide gate tracks and rollers, because it dries to a film that doesn’t collect grit. Best for surfaces exposed to dust and debris.
- Heavy gear grease (as specified by the operator manufacturer): for the operator’s internal gearbox, if the manufacturer calls for periodic greasing at all. Many modern operators are sealed and should not be opened.
What to Avoid
- General-purpose penetrating oil: too thin, attracts grit, and evaporates quickly in summer heat. Leaves you lubricating again in two weeks.
- Standard WD-40 as a long-term lubricant: fine as a short-term moisture displacer after a wet stretch, but it’s not a lasting lubricant and some manufacturers specifically advise against it on operator components.
- Automotive bearing grease: too heavy for hinge pins in cool weather, and it collects grit aggressively.
- Anything the operator manufacturer says not to use. Some warranties specify which lubricants are acceptable on the operator’s moving parts. Using the wrong one can void coverage.
Apply lubricant sparingly. A hinge pin needs a thin film, not a coat. Wipe off excess with a clean rag. If you can see visible grease build-up after a week, you used too much, and that excess is now collecting dust.
How Often to Lubricate in Suffolk
Hinges and pivot points: every two to three months in spring and summer, less often in cooler months. Slide tracks: every two months if the gate sees daily use, less if it operates a few times a day. Operator gearboxes: follow the manufacturer’s schedule exactly, and don’t improvise. If the manual says “sealed, no service required,” leave it sealed.
Reading Early Corrosion Before It Becomes Structural
Corrosion on a gate rarely appears overnight. It starts at seams, weld toes, and the underside of horizontal members where water sits. Catching it early means a wire brush and touch-up paint. Catching it late means a weld has lost section thickness and needs to be replaced.
Where to Look First
- Weld toes: the transition from weld bead to base metal is where moisture collects longest. Look for rust bleeding, bubbling paint, or a white, powdery residue on galvanized steel.
- Bolt heads and fasteners: a rusty bolt head that looks “minor” can be hiding a shank that’s lost significant cross-section. If the head is heavily rusted, check the bolt’s tightness and plan to replace it.
- The bottom rail of the gate: closest to the ground, most exposed to splash-back from rain. Stand at ground level and look along the bottom edge.
- Electrical conduit and junction boxes: conduit that runs to the operator or sensors is often mounted where water pools. Check the fittings at both ends for corrosion or water staining.
- Inside the operator enclosure: if you can safely open the cover (with power off), look for moisture, corrosion on terminals, or a chalky white residue on the circuit board. This one is worth a technician’s eye, not a homeowner’s.
When Corrosion Becomes Structural
Surface rust is cosmetic. Structural concern begins when you see deformation, cracked welds, or section loss where the metal has visibly thinned. A gate that’s lost section thickness at a hinge mount or a post base has lost strength. That’s a job for a technician, not a wire brush and a can of paint. Catching these early matters most on gate repair work, because a weld repair on sound steel is straightforward, while a repair on thinned steel often means replacing a section.
We use a simple rule during inspections: if you can poke a screwdriver tip into a rust spot and it sinks in more than a millimeter or two, the metal is compromised. If the screwdriver skates off, the rust is surface-level and can be treated.
Testing Safety Reversal and Obstruction Sensors
This is the step almost every homeowner skips. It’s the single most important thing on the checklist because it’s the one that protects people and vehicles from a gate that’s supposed to stop and doesn’t.
The Photo-Eye Test (Every Month)
- Stand clear of the gate’s travel path.
- Press the control to close the gate.
- While it’s closing, pass a hand or a long object through the invisible beam between the two photo-eye sensors. On most gates, this means interrupting the line between the sending and receiving eye.
- The gate should stop and reverse immediately.
- If it doesn’t, look at the sensor LEDs. If they’re not both lit (or a specific color), the beam is misaligned or the sensor has failed. If the beam is aligned and the gate still doesn’t reverse, the problem is in the control board.
The Safety Edge Test (Every Six Months)
If your gate has a safety edge (most commonly on sliding gates and larger swing gates), press the edge while the gate is closing. It should stop and reverse. If the edge is a resistance type, apply resistance to the leading edge; if it’s a pressure-sensitive strip, press firmly along its length in two or three places, not just the center.
What to Do if the Reversal Fails
Stop using the automatic function. Switch the gate to manual operation until a technician can diagnose it. A gate that closes without reversing is a hazard, and the problem is almost always fixable but rarely fixable from a manufacturer’s troubleshooting chart without the right diagnostic tools. This is core electric gate repair work, and we handle it on systems across the major brands, including Ghost Controls and Mighty Mule residential operators and DoorKing and Elite commercial-grade units.
Operator and Control Board Checks
The operator is the part of the system that turns electricity into motion, and it’s also the part most homeowners should not open. You can check some things safely from the outside. Others belong to a technician.
Safe Homeowner Checks
- Listen to the operator through a full cycle. Grinding, whining, clicking, or a cycle that sounds rough compared to a month ago all signal wear.
- Watch the gate’s motion. A gate that hesitates at a specific point, slows, or jerks signals a mechanical bind or a developing operator problem.
- Check the exterior of the housing. Cracks, standing water inside the enclosure, or a missing cover gasket all let moisture in.
- Note the temperature after a few cycles. If the housing feels unusually warm, the motor is working harder than it should.
- Test the manual release. Every operator has a manual release for outages. Make sure it engages and disengages smoothly so you’re not stuck if the power goes out.
Checks for a Technician
- Opening the control box. Live line voltage is present inside. This is a hard line.
- Testing control board voltages or diagnosing circuit faults. Requires a meter and the schematic for your specific operator.
- Adjusting limit switches or force settings. Getting these wrong can cause the gate to over-drive and damage the operator or the gate itself.
- Replacing capacitors, relays, or the control board. Live electrical work.
If your operator is a Ghost Controls or Mighty Mule residential unit, the owner’s manual often covers basic limits and force settings. That doesn’t mean the settings are easy to get right, and a mistake can throw the gate out of alignment or cause the operator to trip on current draw. When in doubt, book the service visit. We work on all of these brands and know their quirks.
DIY vs. Technician: Where the Line Sits
Some maintenance genuinely belongs with the homeowner. Some belongs with a technician. Drawing the line correctly saves money and, more importantly, keeps you safe.
Safe for Homeowners
- Visual inspection of hinges, posts, frame, and fasteners
- Lubricating hinges and pivot points with the right product
- Clearing debris from the gate’s travel path and around footings
- Wiping down the operator housing exterior
- Testing the manual release
- Pressing the safety edge and passing a hand through the photo-eye beam to test reversal
- Touching up surface rust with a wire brush and paint
Call a Technician
- Any work inside the operator enclosure or control box
- Adjusting limit switches, force settings, or reversal sensitivity
- Replacing hinges, rollers, or the gate’s structural components
- Diagnosing a gate that won’t reverse or that reverses without a trigger
- Repairing a damaged weld or a post that’s shifted
- Electrical work on the power run, conduit, or any component that carries live voltage
- Winterizing or recommissioning a system that’s sat unused for a season
We’ve seen a lot of gate repair calls that started with a homeowner trying to adjust a control board setting. Sometimes the original problem was small. Sometimes it’s now a replacement board. The safest rule: if the task involves opening a service panel or adjusting a setting the manufacturer didn’t design for owner access, call a professional. Our full Gate Repair Suffolk service covers both mechanical and electric-side diagnostics, so you don’t need two contractors for the two halves of the same problem.
Seasonal Calendar for Suffolk Gate Care
Gates don’t need the same attention in February as they do in July. Here’s a schedule that maps to Suffolk’s seasons, so the work lands when it matters most.
Spring (March through May)
- Full inspection after the wet season. Check for footing movement, corrosion, and debris in the travel path.
- Clean and lubricate hinges with white lithium grease.
- Test safety reversal on both photo-eye and edge.
- Clear vegetation from around the operator housing and footings.
Summer (June through August)
- Reapply lubricant to hinges and track in mid-summer, because heat breaks down lubricant film faster.
- Check the operator’s motor housing for heat build-up after a few cycles.
- Look for insect nests (wasps, spiders) in the operator enclosure and photo-eye lenses.
- Test safety reversal again mid-season.
Fall (September through November)
- Clear fallen leaves from the gate’s travel path and around the footing.
- Touch up any new corrosion spots before winter.
- Check that weather seals around the operator housing are intact.
- Test the manual release before winter weather limits access.
Winter (December through February)
- Inspect for frost heave around posts and footings.
- Check that the operator is still cycling smoothly in cooler weather. Cold grease can cause a gate to hesitate.
- Keep the travel path clear of snow, ice, and debris.
- Test safety reversal if the gate hasn’t been operated in a while.
One annual technician visit in spring is worth more than a dozen small repairs, provided you do the monthly walk-around between visits. Most seasonal damage we see on Suffolk gates could have been caught by a 15-minute check a few weeks before it became a repair.
Common Mistakes to Avoid
- Using the wrong lubricant. General-purpose spray lubricant attracts grit in Suffolk’s humidity and wears parts faster than no lubricant at all. Stick with white lithium grease for hinges and silicone dry lube for tracks.
- Skipping the reversal test. The photo-eye and safety edge tests are the two most important checks on the list, and they’re the two most commonly skipped. A gate that doesn’t reverse is a hazard, not a nuisance.
- Ignoring a leaning post. A post that leans a degree more than last month is shouting about footing movement. Waiting a season usually means a footing repair instead of a tightening.
- Opening the control box as a homeowner. Live line voltage is in there. Even experienced techs treat the control box with respect, and a mistake inside can damage the board or worse.
- Ignoring small rust spots on welds. Weld toes are where corrosion starts and where it matters. Left alone, surface rust becomes section loss, and section loss becomes a weld repair.
- Assuming “no service required” means no inspection. Some operators are sealed and need no lubrication, but the gate’s mechanical parts and the safety sensors still need the monthly walk-around.
- Letting debris build up around the footing. Water pooling against a post base accelerates corrosion and washes out soil. Clear the area every month, especially after heavy rain.
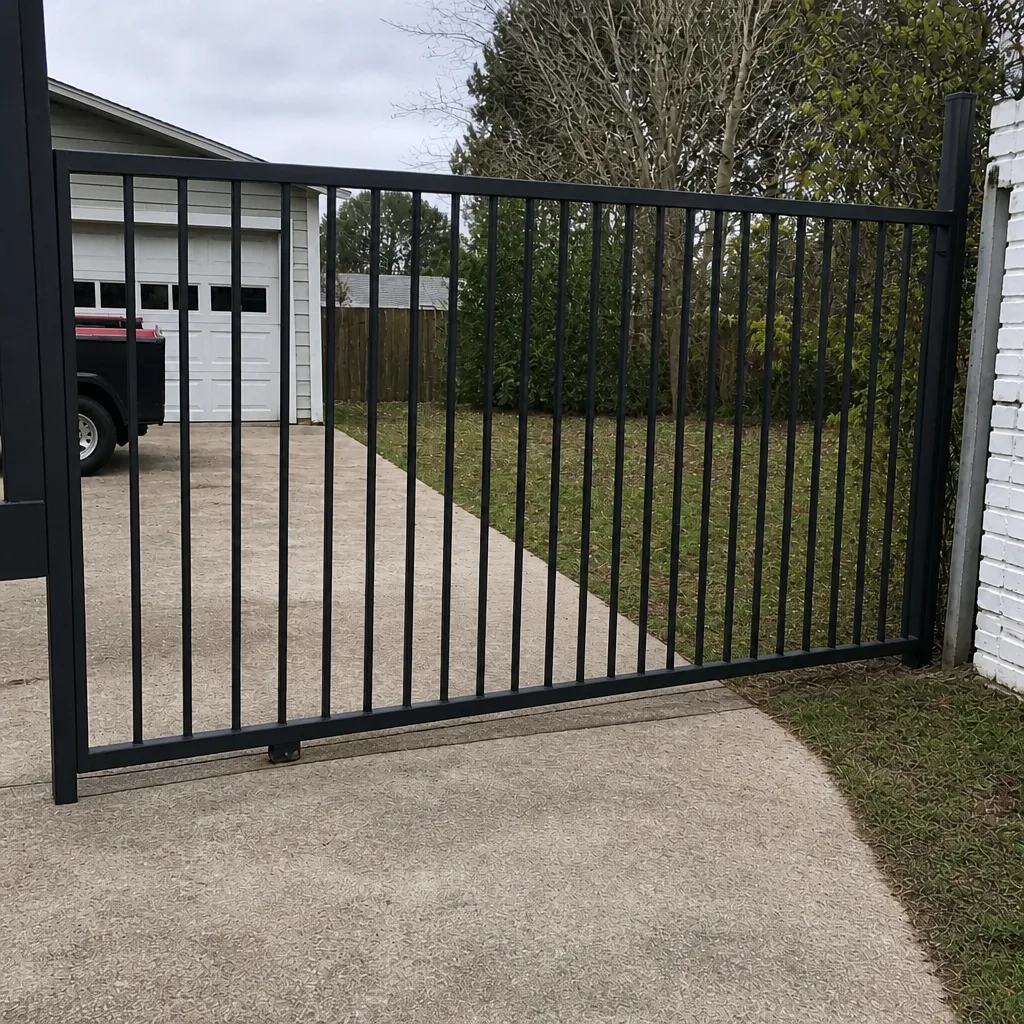
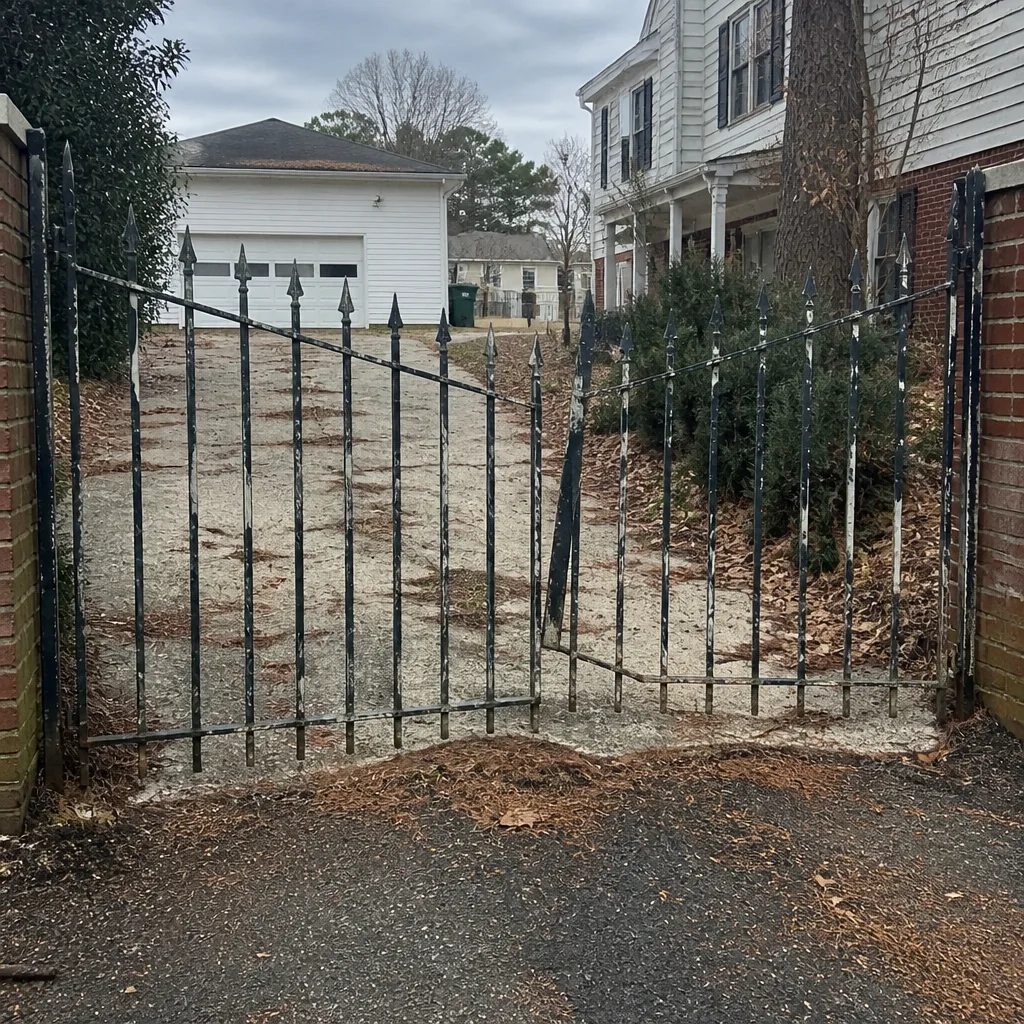
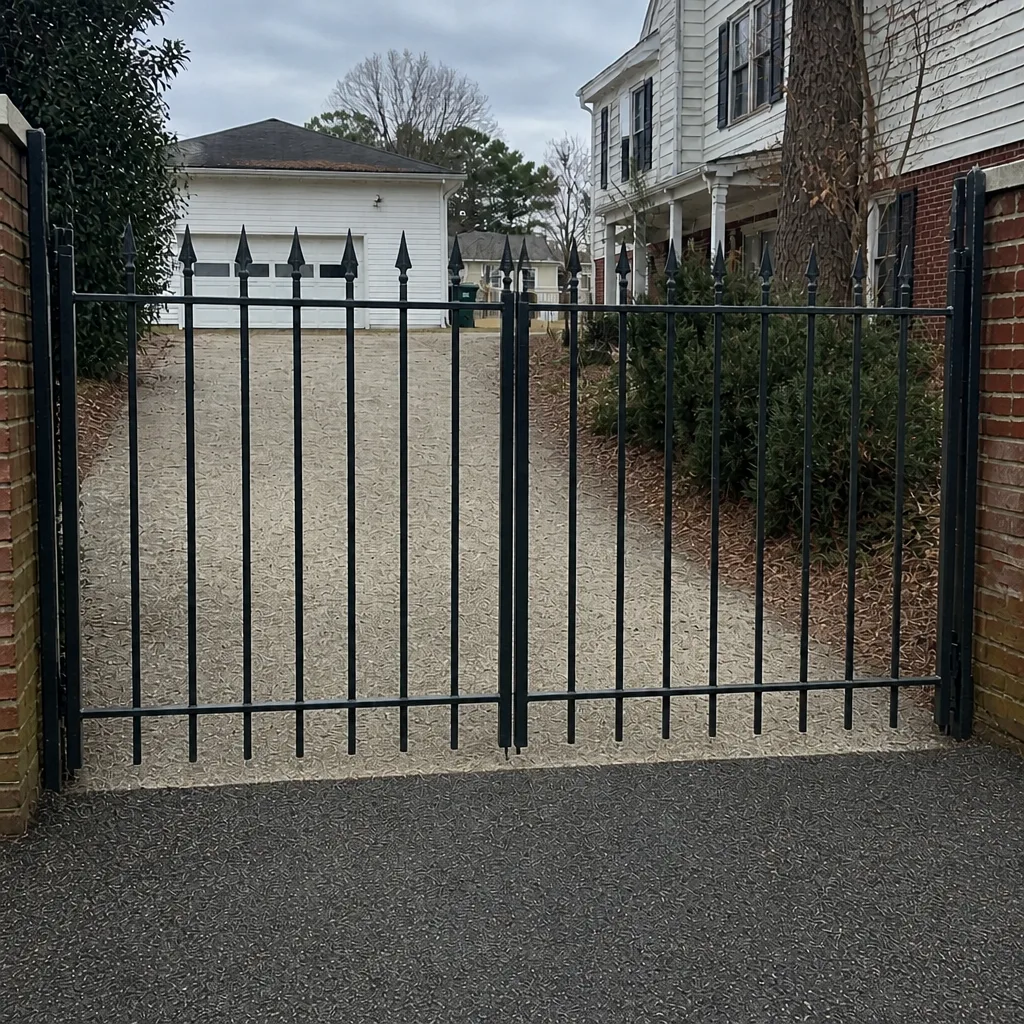
See the difference
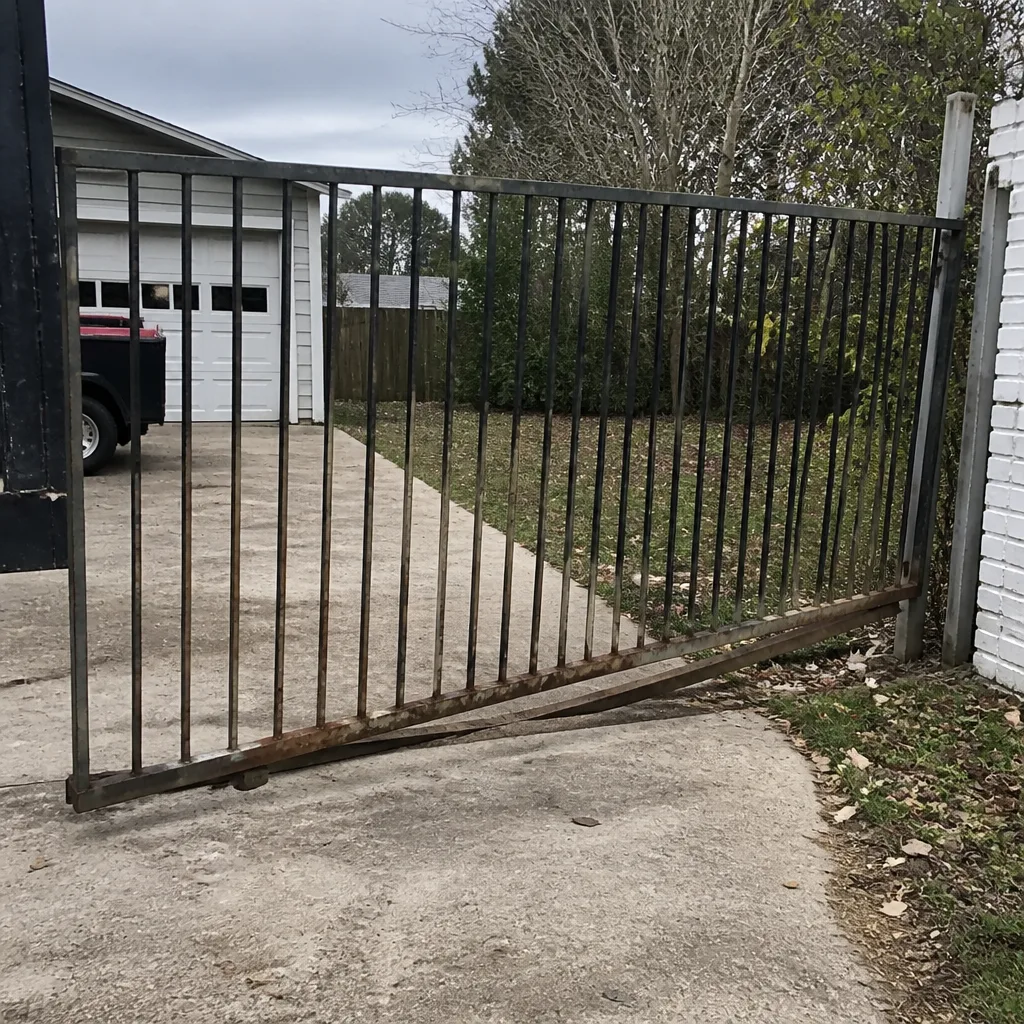 Before
 After
 Before
 After
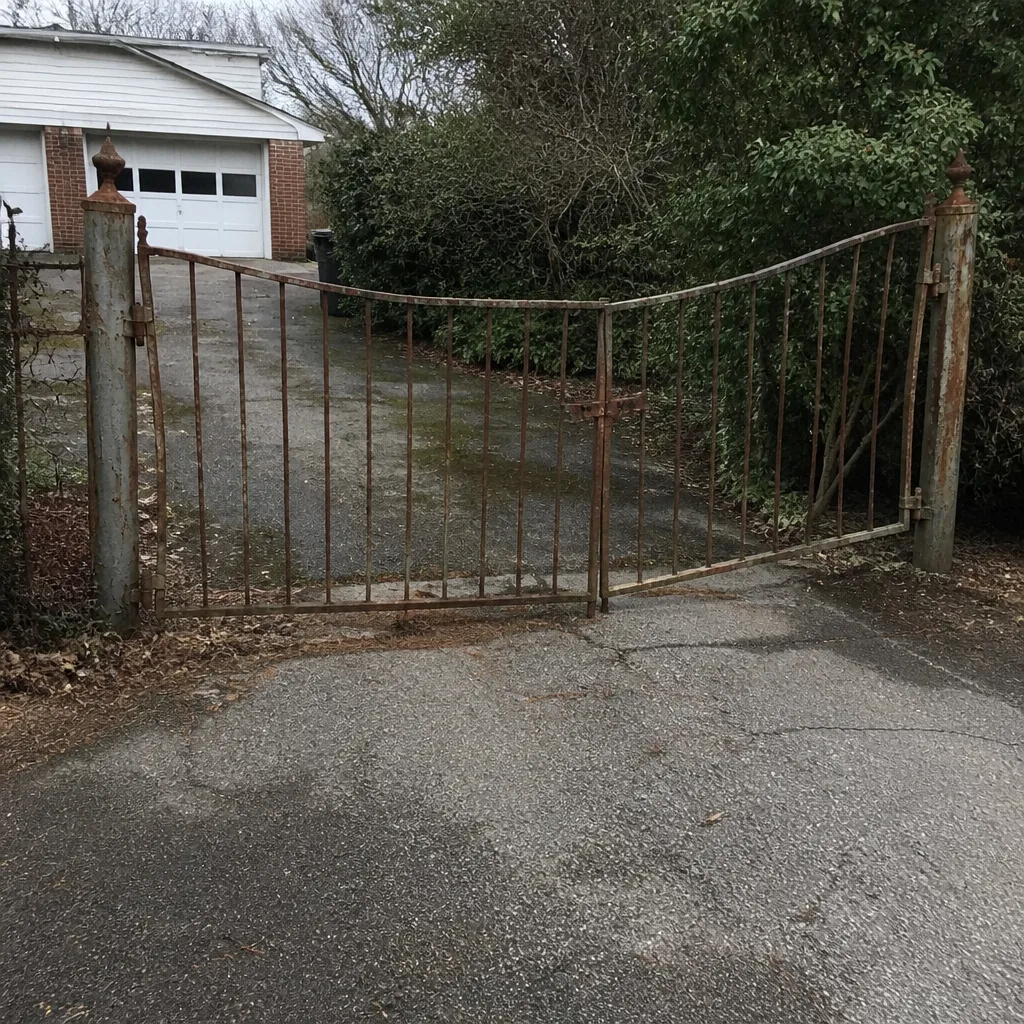 Before
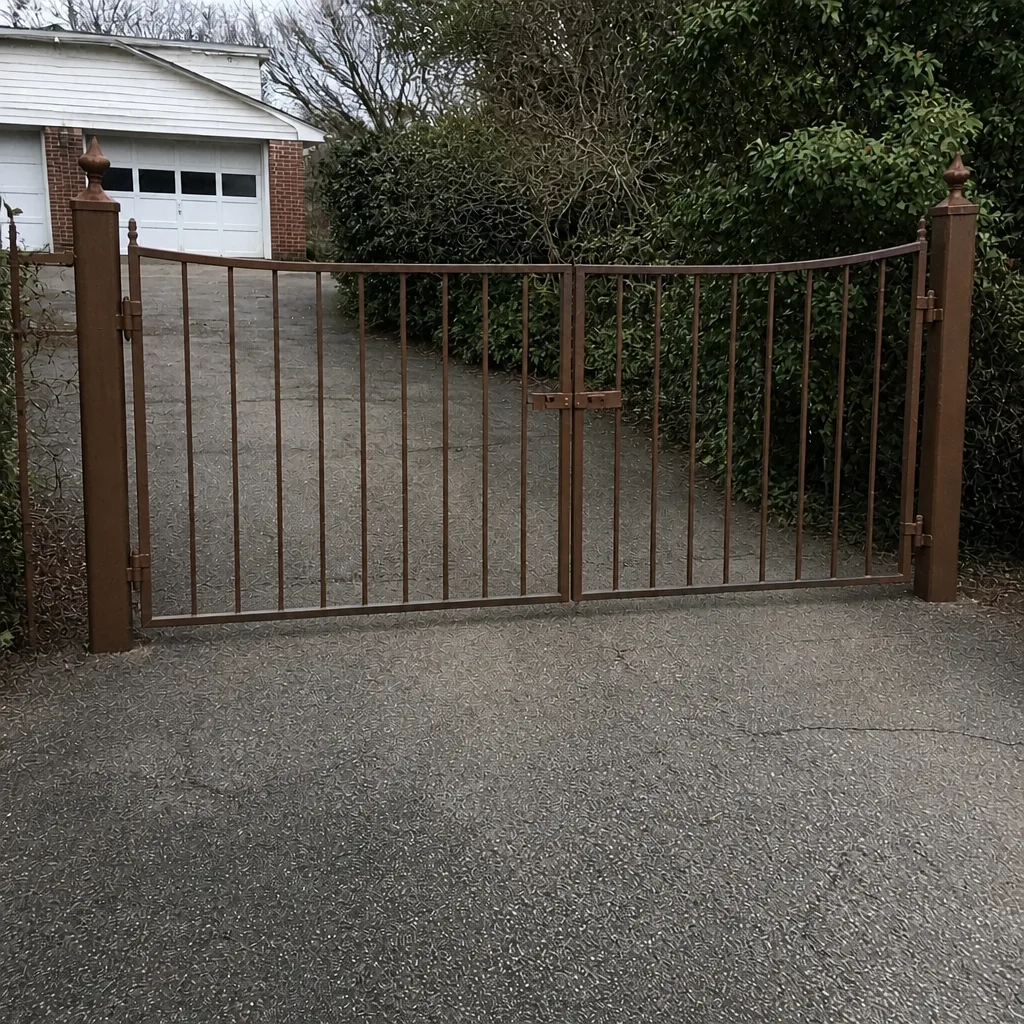 After
When to Call a Professional
Some problems need a technician. A gate that fails the reversal test, a post that’s leaning, a hinge that’s loose in a way that suggests the mounting points are wearing, a control box that’s showing moisture or corrosion, or a gate that won’t close at all. Any electrical work on a gate’s power run or operator should always go to a technician. Our technicians have up to 10 years of experience and work on all the major brands, including Ghost Controls, Mighty Mule, and DoorKing, plus FAAC, BFT, Linear, Viking, Elite, and LiftMaster. Gate Repair Suffolk offers free estimates in Suffolk, call (855) 360-8054. We answer 24/7. Fast dispatch from 7am to 7pm, Sunday through Friday. The written estimate sets the price before any work starts.
Frequently Asked Questions
Once a month for the visual walk-around, and every six months for safety reversal testing. Suffolk’s humidity and heavy rain events mean monthly checks matter more here than in a dry climate, because corrosion and footing movement start earlier.
Yes, hinges, pivot points, and slide tracks are safe for homeowners. Use white lithium grease on hinges and silicone dry lubricant on tracks. Do not open the operator’s control box or attempt to lubricate internal parts that the manufacturer sealed.
Wrong lubricant causing accelerated wear, and safety reversal that’s stopped working without the homeowner noticing. Both are caught by the monthly checklist, and both are fixable if they’re diagnosed early.
Sight down the post line once a month and compare to last month. A post that leans a degree or two more than before, a footing divot, or standing water around the base all point to movement. Clay-heavy soil holds water and swells in the wet season, which is why Suffolk lots often show this earlier than dry-soil sites.
No. You can safely test both the photo-eye and the safety edge by interrupting the beam or pressing the edge while the gate closes. If the gate doesn’t reverse, stop using the automatic function and call a technician. That’s an operator or control board diagnosis, not a homeowner fix.
Surface rust on a weld or hinge is a repair job. Corrosion that’s thinned the metal, cracked a weld, or distorted a mounting point is often still a repair job, but requires a technician’s eye to decide whether to repair or replace. We can take a look and give you a free written estimate.
If your gate needs attention, whether it’s a hinge, an operator, or a safety sensor that’s stopped reversing, call (855) 360-8054. We answer 24/7. Fast dispatch from 7am to 7pm, Sunday through Friday.
The Bottom Line
The checklist works because it’s built for local conditions, not a generic template. The monthly walk-around catches hinge, post, and debris problems before they become repairs. The safety reversal test is the one check that protects people, and it’s the one most homeowners skip. Lubricant choice matters more in Suffolk humidity than most manuals acknowledge. When the work involves the operator’s internals, the control board, or anything carrying live voltage, call a technician. Everything else you can safely inspect and maintain yourself. Fifteen minutes a month, a spring tune-up, and the right lubricant will keep most gates running well for years.
Written by the team at Gate Repair Suffolk.