
Last updated November 15, 2026
 Wrought iron
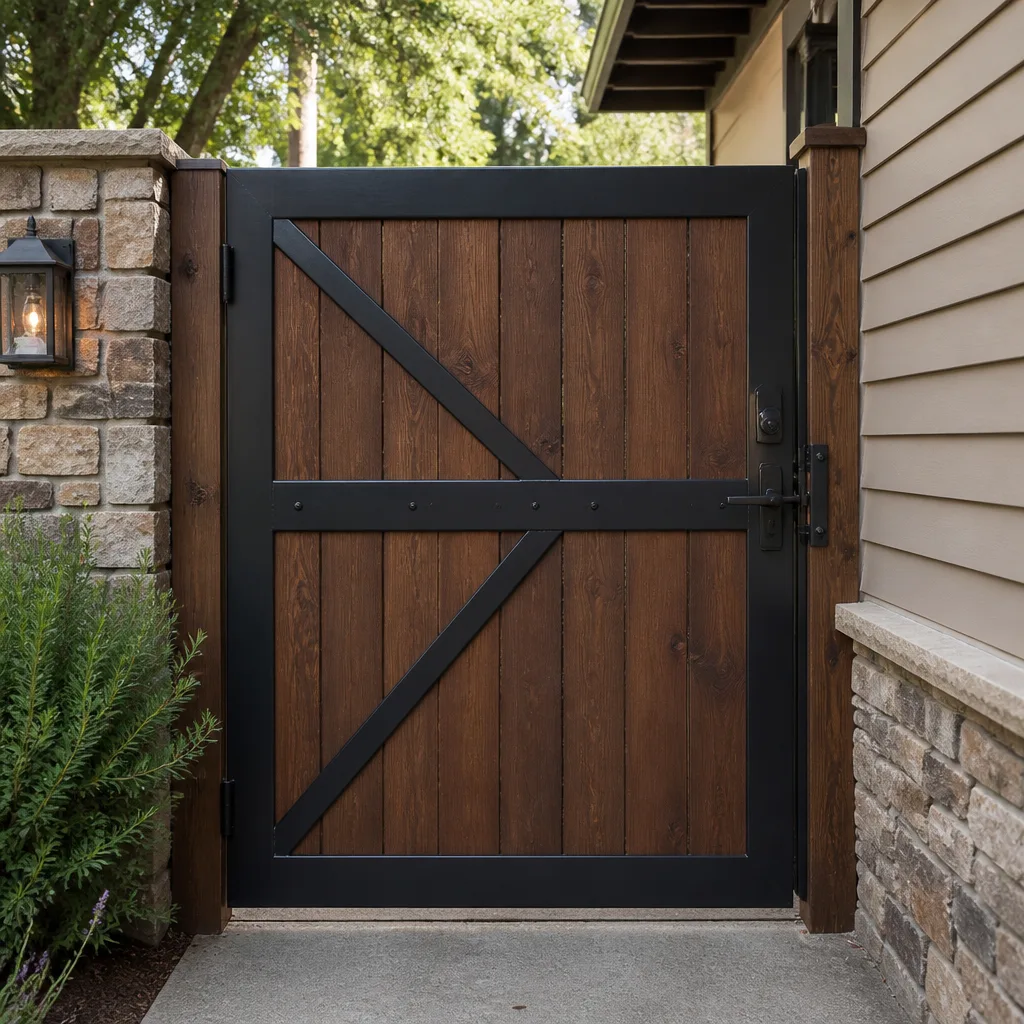 Wood & steel frame
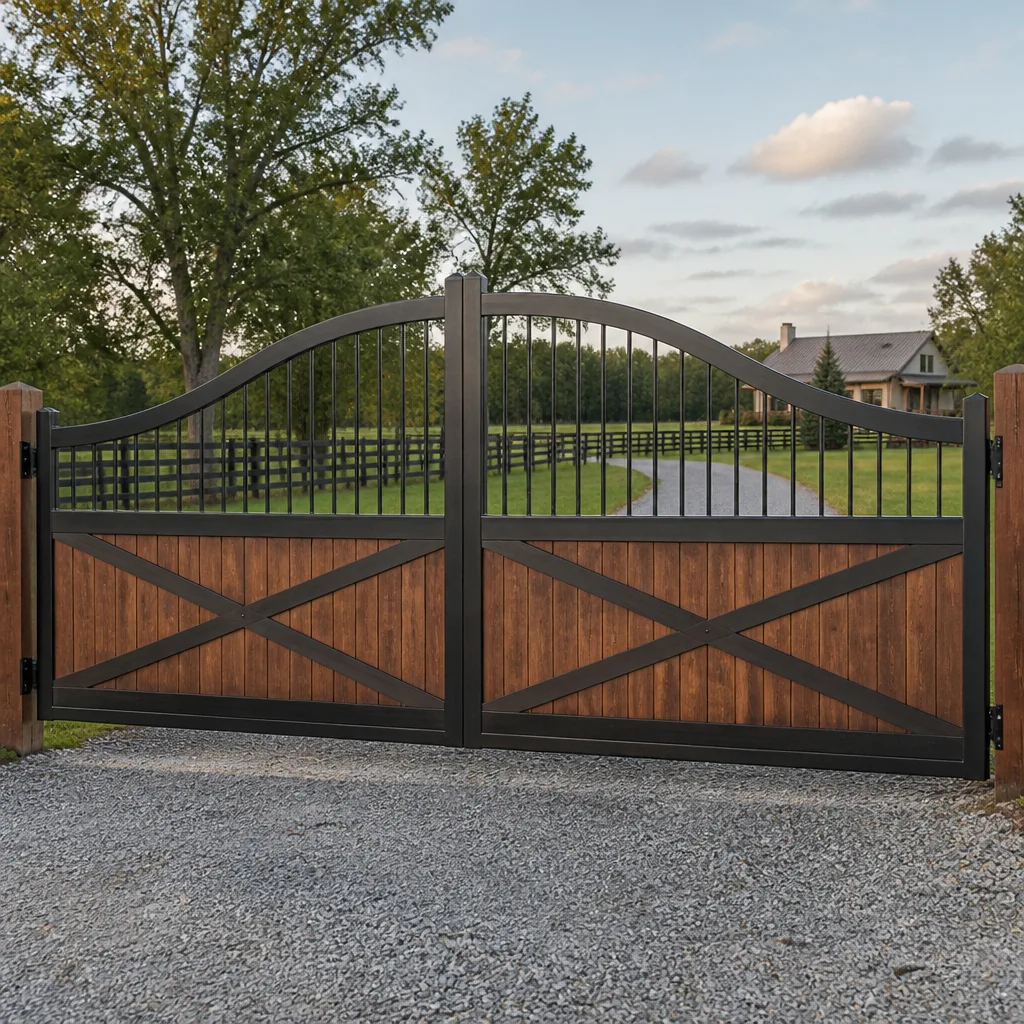 Farm & ranch
 Sliding driveway gates
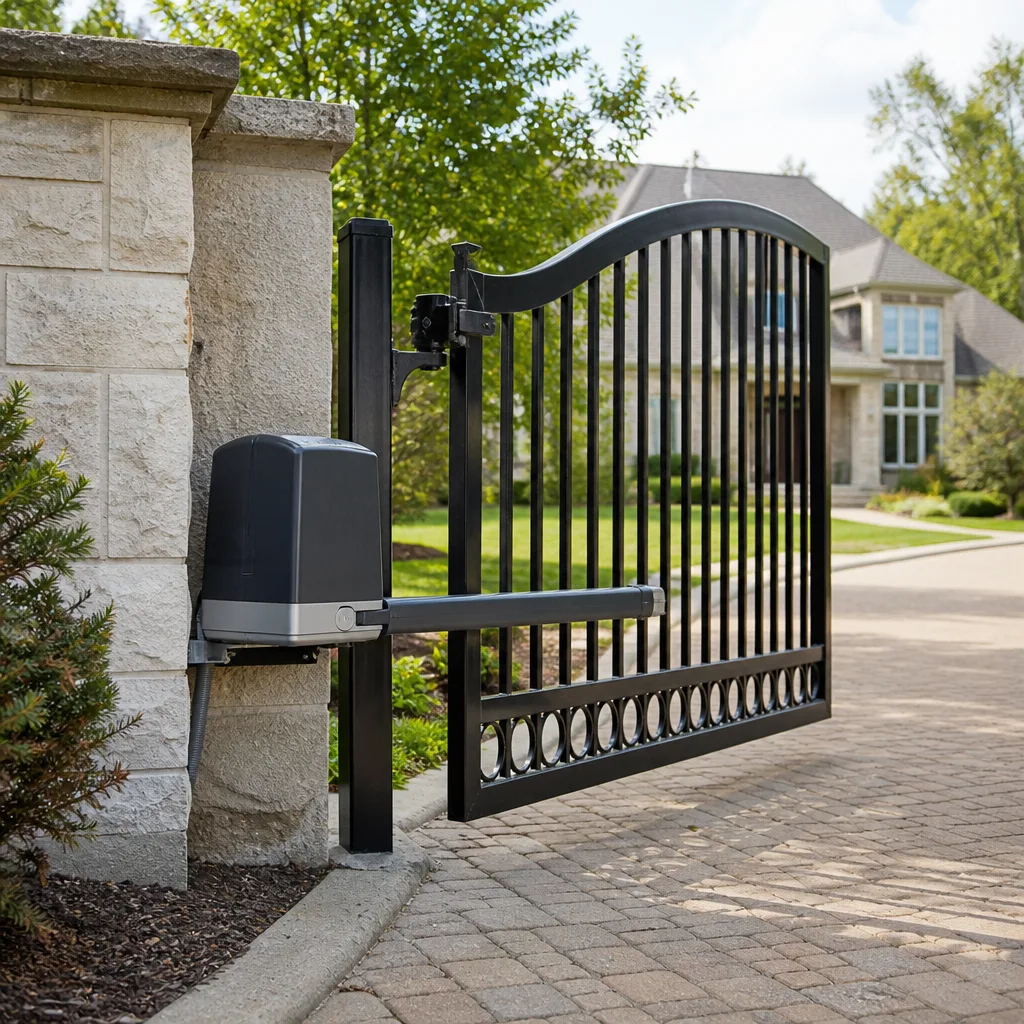 LiftMaster operators
Free on-site gate assessment - hinges, posts, and your LiftMaster or Nice gate operator checked before anything is quoted
The assessment is free and the quote is the invoice.
Get your free estimateGate Repair Troubleshooting in Suffolk: Common Problems and How to Fix Them
A gate that won’t open and a gate that opens halfway look like the same problem, but they almost never share the same fix. That confusion is the single most common reason homeowners pay for the wrong repair. We’ve seen gates “repaired” twice before a technician ever put a meter on the control board. This guide teaches you to read your gate’s symptoms the way a specialist does: what the sounds mean, what the LED flashes are telling you, and which failures are worth a reset versus a call. You’ll learn the five fault categories that cover nearly every gate breakdown, and how to sort your gate into the right one before you pick up the phone. Suffolk readers will also find the local factors that matter here.
Quick Answer
Gate problems in Suffolk usually fall into one of five categories: operator or motor failure, limit-switch drift, obstruction-sensor triggers, mechanical wear (hinges, tracks, rollers), or power and control-board faults. Each category has a distinct set of symptoms, and troubleshooting means matching the symptom to the category rather than guessing. A gate that hums with no movement points to a mechanical bind or a dead motor; a gate that reverses on contact points to the sensor; a gate that stops at the same wrong spot every time points to a limit switch. Sort the symptom first, and you’ll save both time and money.
Styles & brands we work with
- Wrought iron
- Wood & steel frame
- Farm & ranch
- Sliding driveway gates
- LiftMaster operators
Table of Contents
- The Five Fault Categories Behind Almost Every Gate Failure
- Operator Failure vs. Limit-Switch Drift vs. Sensor Triggers
- What Your Gate’s Sounds Are Telling You
- Reading Your Operator’s LED Diagnostic Codes
- How Suffolk’s Climate Affects Gate Wear
- When a DIY Reset Is Safe and When It Backfires
- Swing Gate vs. Slide Gate: Troubleshooting Differences
- Power, Wiring, and Control-Board Problems
The Five Fault Categories Behind Almost Every Gate Failure
Nearly every residential or commercial gate failure sorts into one of five categories. Knowing the category tells you what to test, what to check, and whether the fix is a ten-minute adjustment or a component replacement. In our experience, technicians who skip categorization end up replacing parts that were never broken while the actual fault sits untouched.
The five categories are:
- Operator or motor failure. The motor itself has failed, the gearbox is stripped, or the capacitor (on some systems) has died. Symptoms: humming with no movement, dead silence when commanded, or a hot motor that shuts itself off.
- Limit-switch drift. The limits tell the gate where “full open” and “full closed” are. Over time, or after manual movement, they drift and the gate stops short, overshoots, or reverses at the wrong spot.
- Obstruction-sensor triggers. Photo-eyes, safety edges, or loop detectors detect an obstruction that isn’t there. Symptoms: reversing mid-travel, refusing to close, or intermittent stopping.
- Mechanical wear. Hinges, rollers, tracks, and wheels wear out. Symptoms: grinding, dragging, sagging, a gate that operates but sounds terrible.
- Power and control-board faults. The board has a fault, a fuse has blown, a wire has come loose, or power supply has dropped. Symptoms: no lights on the board, no response at all, erratic behavior.
Start with category five when the gate is completely dead. If the board has no power, nothing else matters. Move to category one when the gate responds to the remote but doesn’t move on its own. Categories two and three are for gates that move inconsistently. Category four is for gates that move but sound wrong or drag. That order prevents the most common misdiagnosis: chasing a sensor when the problem is really a bound hinge.
Operator Failure vs. Limit-Switch Drift vs. Sensor Triggers
These three faults are routinely confused because the outward symptoms overlap: a gate that doesn’t open fully could be a dead motor, a drifted limit, or a sensor falsely triggering. They need three completely different fixes. Getting the diagnosis right the first time is the whole game.
Here’s how to tell them apart:
- Operator failure: the gate doesn’t move from the start. Press the remote and the operator clicks or hums but nothing happens, or the arm stays locked and no sound comes. It fails at the beginning of the cycle, every cycle.
- Limit-switch drift: the gate moves but always stops at the same wrong spot. If the gate opens halfway and always stops at the same point, that’s almost certainly a limit that has drifted, not a failing motor. The operator is doing exactly what the limit told it to do.
- Sensor trigger: the gate reverses, stops midway, or refuses to close only sometimes. Move a hand across a photo-eye and see if the gate responds. If it reverses when it shouldn’t, the sensor is either misaligned, dirty, or has a failing receiver.
One quick test clarifies all three: disconnect the arm or chain from the gate and operate the gate by hand. If the gate moves freely, the mechanical side is fine and the fault is electrical (limit switch, sensor, or operator). If the gate binds, drags, or won’t move, the mechanical side is your culprit and the operator is likely fine. That ten-second test separates category four from categories one, two, and three.
If you’d rather have a specialist work through the diagnosis, that’s exactly what we do for electric gate repair in Suffolk and the wider area. We diagnose before we quote.
What Your Gate’s Sounds Are Telling You
Your gate’s sounds are a diagnostic tool most homeowners never listen to. In our experience, four sounds map to four different mechanical faults, and each is distinct between swing and slide gates.
- Grinding. Metal-on-metal grinding usually means a stripped gearbox, a worn drive gear on the operator, or a dragging wheel on a slide gate’s track. On swing gates, grinding on a LiftMaster or FAAC arm often means the internal gear has worn. On a slide gate, grinding under the gate typically means a seized roller or a track with debris.
- Clicking. A single click when commanded with no movement is often an operator trying to start but finding a limit or a safety switch engaged. Repeated clicking during the cycle can mean a worn relay on the control board (common on older BFT and LiftMaster boards) or a failing travel limit mechanical switch.
- Humming with no movement. The motor is receiving power but the shaft is bound. That points to a stripped gearbox, a bound hinge, or a locked drive chain. On slide gates, the same symptom usually means a seized roller or a wheel off its track.
- Silence when commanded. No click, no hum, no light change on the board. That’s a power or control fault, not a motor fault. Before replacing anything, check the fuse and the incoming power supply.
Swing gate grinders are most often hinges and gearbox internals. Slide gate grinders are most often rollers and tracks. Either way, the sound is a symptom, not a diagnosis. But mapping the sound first narrows the checklist from “everything” to three or four specific components.
If you’re wondering whether it’s worth fixing, our gate repair team can tell you within the first few minutes on site.
Reading Your Operator’s LED Diagnostic Codes
Most gate operators have a diagnostic LED or a display that flashes error codes, and most homeowners never check them. In our experience, reading the LED pattern before calling a technician is often the difference between a two-minute reset and a component replacement. The board will usually tell you the fault category directly if you know how to look.
Here’s how to check the diagnostic readout step by step:
- Locate the control board. On residential systems it’s usually inside the operator housing on the gate or on a wall-mounted box. On commercial systems it’s often inside a locked cabinet near the gate.
- Count the LED pattern. Many controls (LiftMaster and Linear both use this method on some models) flash a repeating count pattern: for example, one flash, pause, three flashes, pause, then repeat. That’s “code 13.” The pattern tells you which fault the board recorded.
- Compare the pattern to the manual. The operator manual has a code chart. If you don’t have yours, most brands publish the chart on their support site for your model series.
- Note whether the LED is steady, flashing, or off. A steady LED often means power is fine and the fault is logic-level. Flashing means a specific error. Off means check power supply and fuse first.
- Write the code down before you call. Giving a technician the exact code saves diagnostics time and gets you a precise answer faster.
Commercial operators under FAAC and BFT controls sometimes display numeric fault codes on a small display instead of blinking LEDs. Same idea: read the number, look at the chart. That small step removes guesswork from the diagnosis.
How Suffolk’s Climate Affects Gate Wear
Suffolk sits near the Chesapeake and James River tributaries, and the humidity that comes with that environment affects gate systems differently than inland installs. The moisture accelerates several wear cycles: metal components on hinges rust more aggressively, lubricants wash out or gum up faster, and track channels accumulate debris and moisture. The result is that a gate in Suffolk often shows mechanical wear sooner than the same gate installed further inland.
The parts that suffer most:
- Hinges and swing gate pivots. Rust in the hinge pin accelerates play and sag. A gate that sags will drag on the ground, bind the operator arm, and eventually damage the gearbox.
- Slide gate tracks and rollers. Moisture in the channel combined with grit turns into a grinding paste that wears rollers and chews grooves into the track. Keep the channel clear and lubricated.
- Control cabinets and connectors. Humid air finds its way into control boxes. Corroded terminal screws and green-tinted wire connections cause erratic behavior that has nothing to do with the operator itself.
- Battery backup units. On operators that use a backup battery, that battery lives a shorter life in a humid environment. A weak battery produces “gate won’t open after power blip” symptoms that look like a control-board fault.
The good news: preventive lubrication and regular cleaning cost very little. Annual greasing at pivot points, monthly clearing of the slide channel, and a yearly look at the control cabinet’s terminal blocks add years to a gate in Suffolk. When we work on a Suffolk property, we check those points first because they fail more often than operators do.
When a DIY Reset Is Safe and When It Backfires
A few gate issues are safe to attempt yourself, but a few others are dangerous and can make the fault worse. Electric gates carry lethal voltage in the operator and control cabinet. The high-tension mechanical parts (heavy gate panels, slide gate wheels under load) can crush or cause serious injury if released without support. Before you touch anything, know the line between safe troubleshooting and a job for a trained professional.
Safe to attempt:
- Check the photo-eyes for dirt and alignment. Wipe the lenses clean and confirm they point at each other. This is the most common and safest fix.
- Check the fuse. If the board has no LED activity, confirm the fuse on the board matches the manual’s spec. Replacing a fuse of the correct rating is safe.
- Press the manual release and move the gate by hand. On swing gates, the release lever is safe as long as you support the gate and the gate is not under heavy load. On slide gates, the manual release is safe to operate only if the gate is on flat ground and won’t roll when released.
- Power-cycle the operator. Turn the operator off, wait a minute, turn it back on. This resets the control board’s logic and clears spurious faults. Safe to try once.
Not safe to attempt:
- Opening the control cabinet for anything beyond reading the LED. Mains voltage is present. Stay out except to read the display and confirm the fuse.
- Adjusting limit switches without the manual and a meter. A drifted limit is easy to make worse, and an over-tight limit can force the operator to jam against the stop and damage the gearbox.
- Working on a heavy slide gate’s wheel assembly while the gate is on its track. If the wheel comes out, the gate drops. That’s a two-person job with proper blocking.
- Repeatedly resetting an operator that trips out. If the operator shuts itself off on every cycle, the fault isn’t spurious and forcing the reset risks damage. That’s a technician’s call.
If your operator is under warranty, check the terms before attempting anything beyond the fuse and the photo-eyes. Some brands treat unauthorized internal work as a warranty issue. When in doubt, leave it to a trained technician, and the model-specific answer is usually quicker than a DIY guess.
Swing Gate vs. Slide Gate: Troubleshooting Differences
Swing gates and slide gates share operator and control-board architecture, but their mechanical wear patterns are different, and the fault categories sort differently between the two. Understanding which gate you have changes the troubleshooting order.
Swing gate troubleshooting order:
- Check the hinge play. A swing gate with more than a few degrees of sag will bind the operator arm and trip the board. That’s the first thing to look at.
- Check the operator arm (underground or articulated, depending on the model). Bind when the arm swings through its arc usually means a worn gearbox.
- Check the limit switches at the top of the arc. Swing gate limits drift more than slide gate limits because the arm arc is longer.
- Check photo-eyes and safety edges. Swing gates often have edge sensors on the leading edge, and a damaged edge can trip the reversing circuit.
Slide gate troubleshooting order:
- Check the track. Grit, leaves, or a bent rail will seize a roller and produce grinding or a stall. Clear the track and check for debris in the rollers first.
- Check the rollers. A cracked or seized roller is the most common slide gate failure in our experience.
- Check the operator’s drive gear and rack. A worn rack or a gearbox with stripped teeth produces a “clicking then nothing” symptom.
- Check the safety loop in the ground if your gate has one. A failed loop makes the gate refuse to close, which looks identical to a sensor fault.
On slide gates, keep the range of motion clear of debris and never let the track fill with grit. On swing gates, keep the pivots greased and check for sag every few months. Both need the LED diagnostic code checked before parts are ordered. If it’s the operator itself, an experienced technician who works on your brand can usually read the board and confirm the fault faster than a generic contractor.
Power, Wiring, and Control-Board Problems
Power and control-board faults sit at the top of the diagnostic order because nothing else matters if the board has no voltage. These faults are frequently invisible from the outside; the gate looks fine, the remote works, but the board is dead. In our experience, half of what looks like an “operator failure” on first inspection turns out to be a power or board problem.
The checks to work through:
- Confirm power at the board. If the LED is completely off and the fuse is intact, verify incoming voltage with a meter. Don’t guess; a live meter reading eliminates the question.
- Check the fuse. A blown board fuse stops all operation. If it keeps blowing, that’s a wiring or solenoid fault and needs a technician.
- Check the terminal connections. In a humid environment, terminal screws and wire ends corrode. Gently tugging each wire confirms tightness without opening the mains area.
- Check the battery backup. If your operator has one, a weak battery can cause gates to fail mid-cycle. Swap the battery if it’s over its expected life (most manuals specify a replacement interval).
- Check the transformer output. Some boards have a transformer that steps mains voltage down. If the board has no LEDs but the transformer has output, the board itself has failed.
Don’t go deeper than the fuse and the LED into the cabinet yourself. Lethal voltage is present and the safety stakes are real. If a control board has failed, replacement is sometimes the only answer, but often the fault is a loose wire, a corroded terminal, or a dead backup battery. Sorting that out first saves the cost of a board you didn’t need.
Our Gate Repair Suffolk team works on the full range of control boards, including LiftMaster and Linear series, and can read the code and trace the fault directly.
Common Mistakes to Avoid
- Replacing the operator before checking the fuse and the LED. A dead board, a failed fuse, or a loose battery connection will look exactly like a failed motor. Check power at the board before you order parts.
- Adjusting limit switches to “fix” a reversing gate. Reversing is a sensor symptom, not a limit symptom. Adjusting limits to compensate for a photo-eye fault makes the gate operate past the safety envelope.
- Force-opening a bound gate by hand repeatedly. On a swing gate with a bound hinge, forcing the gate by hand strips the operator arm gear. On a slide gate, it can pull the gate off its track. Release the operator arm or chain before hand-operation.
- Ignoring a sagging hinge. A hinge that has 2 degrees of play will drag and bind the operator within months. In Suffolk’s humid environment, unchecked hinge wear accelerates because rust in the pin compounds the problem.
- Skipping the LED diagnostic code. Most boards flash a specific code. Skipping it and calling a general handyman means a slower diagnosis and often a wrong part.
- Letting a general fencing contractor diagnose an operator. Fencing contractors build gates but often can’t read a control board. Electric gate repair needs a different skill set, and calling the wrong trade first is the most expensive route.
- Using the wrong battery on a backup system. Swap-in batteries with the wrong spec can shorten the board’s life or fail immediately. Match the manual’s specification.
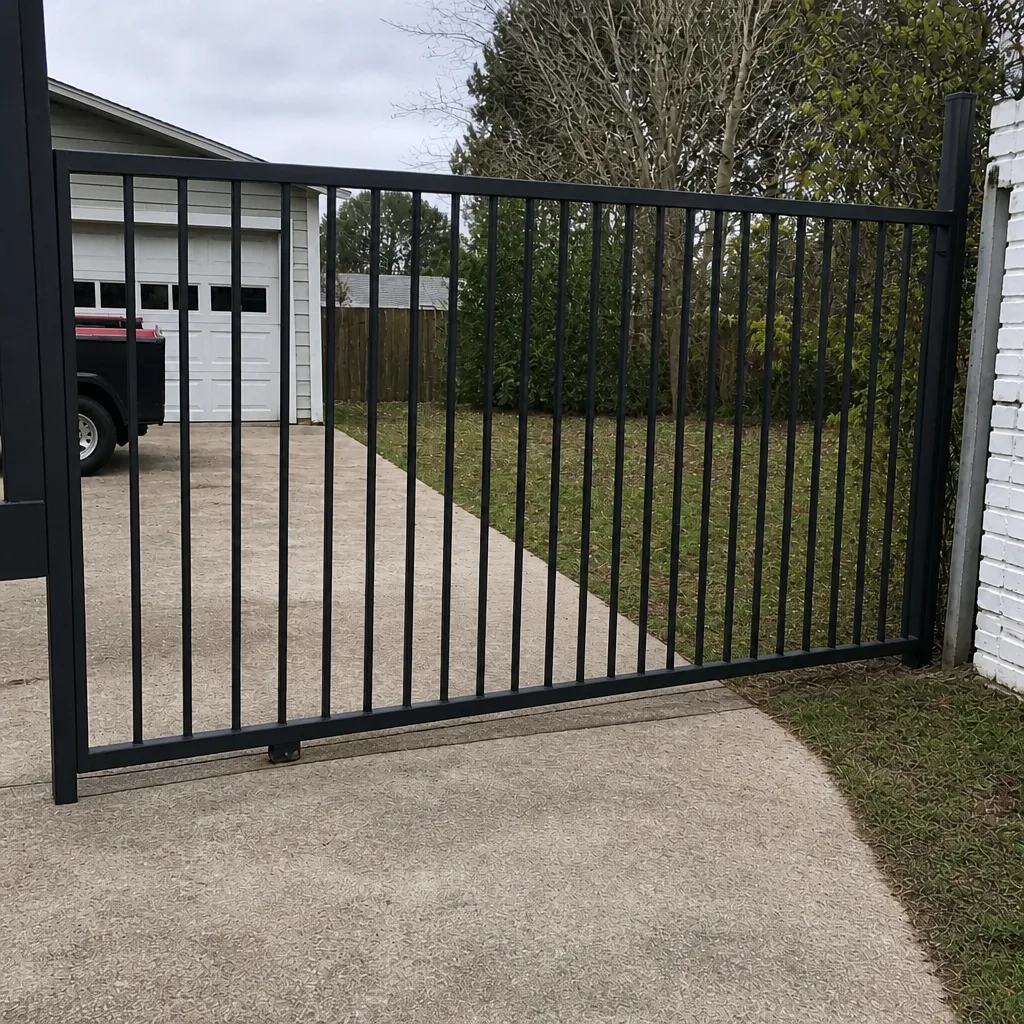
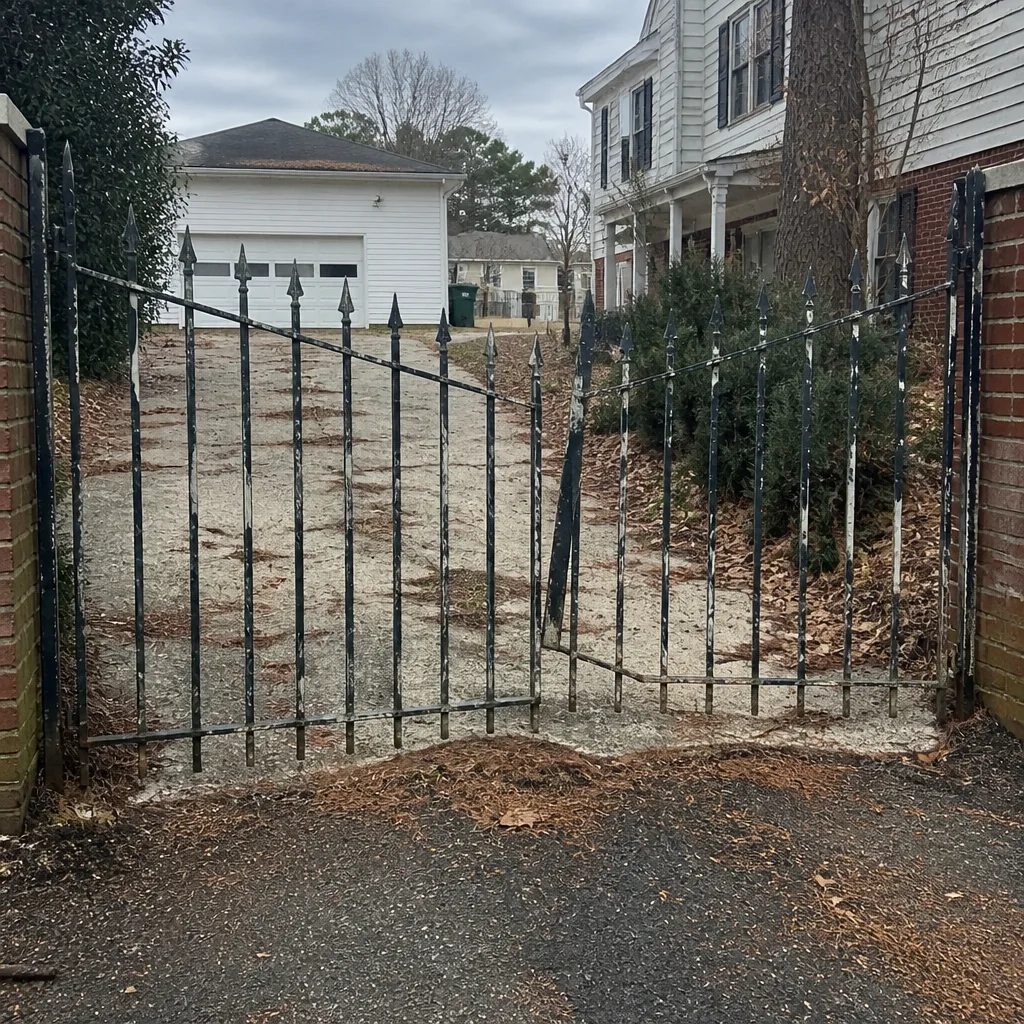
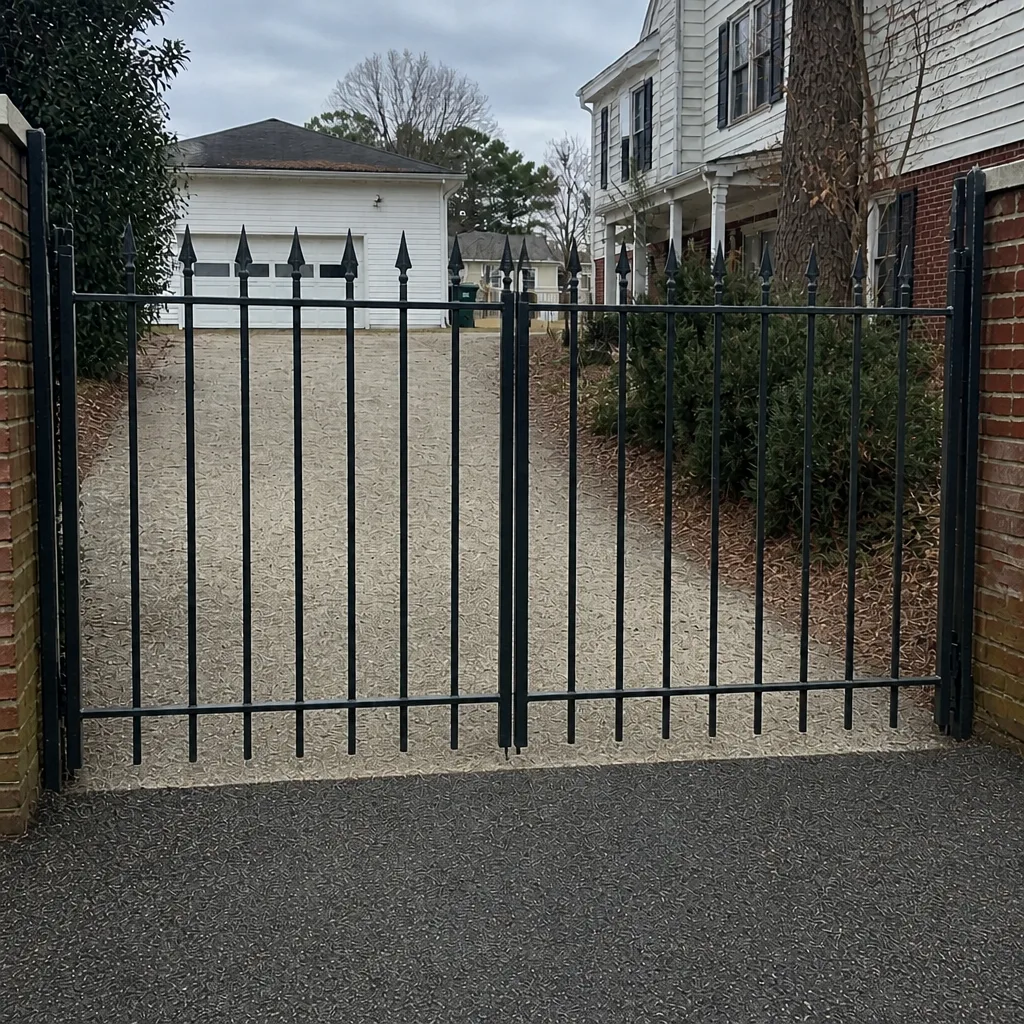
See the difference
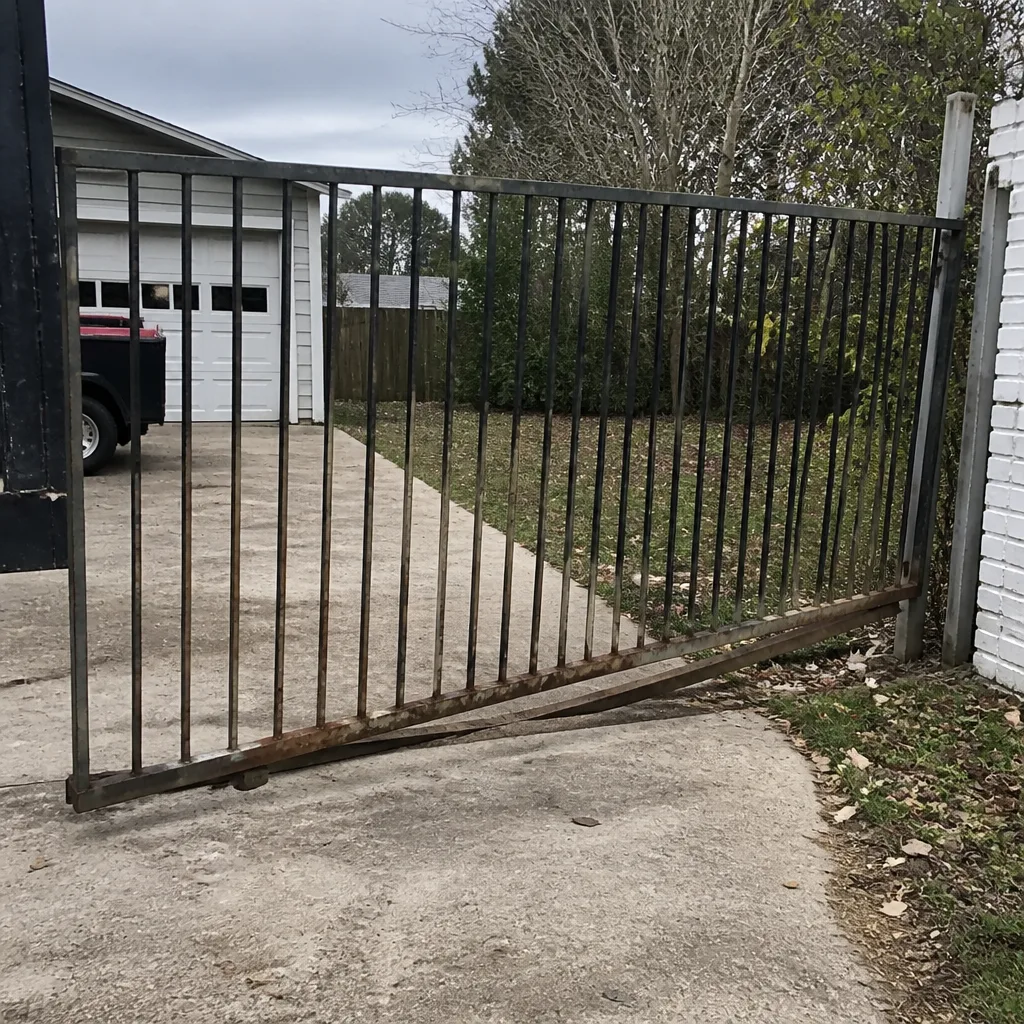 Before
 After
 Before
 After
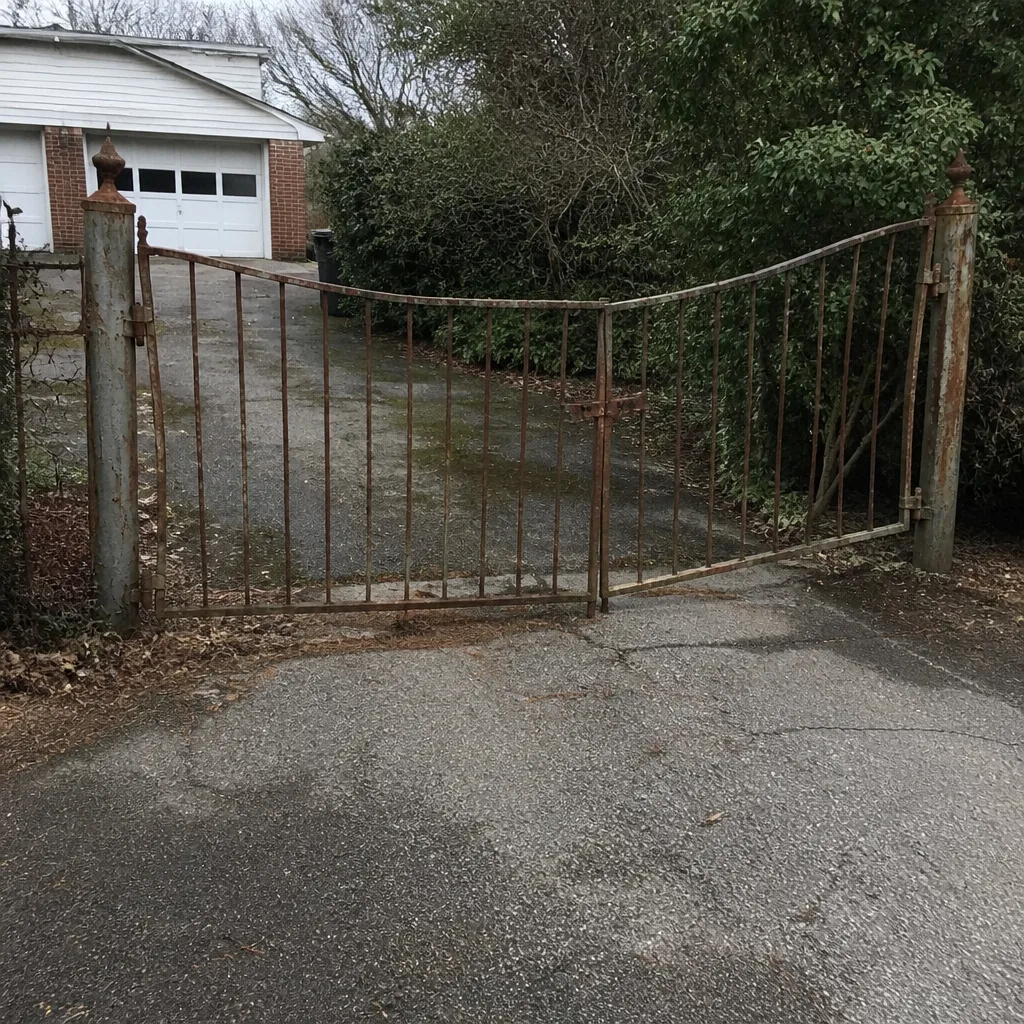 Before
 After
When to Call a Professional
Call a gate specialist when the symptom is inside the control cabinet, involves mains voltage, or the gate is a heavy slide or swing panel that could fall or crush if you work on it alone. Call us when the gate is completely dead and the LED is off, when the operator shuts itself off on every cycle, when a hinge or track is cracked or structurally damaged, or when a repair attempt has made the gate worse rather than better. If your gate is under warranty, call before you go beyond the fuse and photo-eye check. Our technicians have up to 10 years of experience and we work on nine named brands, from Mighty Mule and Ghost Controls through LiftMaster, Linear, FAAC, BFT, Viking, DoorKing, and Elite. Gate Repair Suffolk offers free estimates in Suffolk; call (855) 360-8054.
Frequently Asked Questions
A gate that hums but doesn’t move has power reaching the motor but a mechanical bind somewhere between the motor and the gate panel. That’s usually a stripped gearbox, a seized roller on a slide gate, a bound hinge on a swing gate, or a locked drive chain. Don’t keep pressing the remote: a humming motor that can’t turn overheats and can fail completely. Isolate the mechanical fault first by releasing the operator and moving the gate by hand. If the gate moves freely by hand, the fault is in the operator gearbox; if it binds, the fault is mechanical. Call (855) 360-8054 for an exact diagnosis and free estimate.
A repeating LED flash pattern is the control board recording a specific fault, and the pattern tells you which one. The board counts flashes between pauses: for example, three flashes then a pause then two flashes would be a code 32. That code and the model number together give a technician a precise starting point. Write the pattern down, check the manual’s code chart, and have the code ready when you call. That one step saves a diagnostic visit and usually shortens the whole repair. For a same-day visit, call (855) 360-8054 and give us the code and your brand.
A gate that reverses as soon as it starts closing is almost always a safety sensor or safety edge, not a limit switch. Limits control where the gate stops at the ends of travel, not whether it reverses on contact. Check the photo-eye lenses for dirt and confirm they’re aligned with each other; that fixes the majority of these cases. If the lenses are clean and aligned, a damaged safety edge or a failed loop detector could be the cause. Let a technician check the sensor circuit before touching the limits. Call (855) 360-8054 for a free estimate.
A power-cycle reset (turn the operator off, wait a minute, turn it back on) is safe and usually doesn’t void a warranty. Clearing the logic is a standard first step and matches what a technician would do on arrival. Adjusting limits, opening the control cabinet beyond the fuse, or swapping internal components without authorization can void coverage on some brands, so check the manual’s warranty section first. If the gate continues to trip out after a reset, the fault is real, not spurious, and needs an in-person diagnosis. Call (855) 360-8054 to book a technician.
Gates in Suffolk see more humidity and moisture than inland installs because of proximity to the Chesapeake and the James River tributaries. That moisture accelerates rust in hinge pins, gum in slide gate tracks, and corrosion on control-board terminals. The fix isn’t complicated: grease pivot points at least once a year, clear the slide track monthly, and have a technician check the control cabinet terminals annually. A few minutes of prevention adds years to the operator. If your gate is already dragging or grinding, call (855) 360-8054 for a free estimate; we’ll check those specific wear points first.
For a gate that won’t open, a control-board fault, or a sensor problem, you need a gate specialist, not a fencing contractor. Fencing contractors build gates and install panels, but electric gate repair involves reading control boards, testing safety sensors, and tracing wiring. Diagnosing an operator requires a different skill set. Our technicians work on nine major brands, including LiftMaster, FAAC, BFT, and Linear, and we handle both the mechanical and the electrical side. That means one diagnosis instead of two. Call (855) 360-8054 for a free estimate.
The Bottom Line
Nearly every gate failure sorts into one of five categories, and identifying the category is most of the diagnosis. Check the LED code before you call. Check the fuse and photo-eyes before you replace anything. Disconnect the operator and move the gate by hand to see whether the fault is mechanical or electrical. Keep your hinges greased and your slide track clear, especially in Suffolk’s humid climate where wear accelerates. And when the fault sits inside the cabinet or involves a heavy gate panel, call a specialist rather than guessing. Reading the symptom first is what saves money on gate repair in Suffolk.
If your gate is still misbehaving after the checks in this guide, or you’d rather hand off the diagnosis to a specialist, we’re happy to help. Gate Repair Suffolk works on nine gate brands across residential and commercial systems, and we handle both mechanical faults and control-board problems in one visit. Call (855) 360-8054 for a free estimate. We answer 24/7, with fast dispatch from 7am to 7pm, Sunday through Friday. The written estimate sets the price, and you’ll know the cost before any work starts.
Written by the team at Gate Repair Suffolk.